Well-architected cloud automation can support you in optimizing running costs. If you have Virtual Machines hosting systems that do not have to run 24/7 you can deallocate them and reduce cloud spending. Often, non-production environments are perfect candidates for such optimization.
Stopping Virtual Machines on schedule
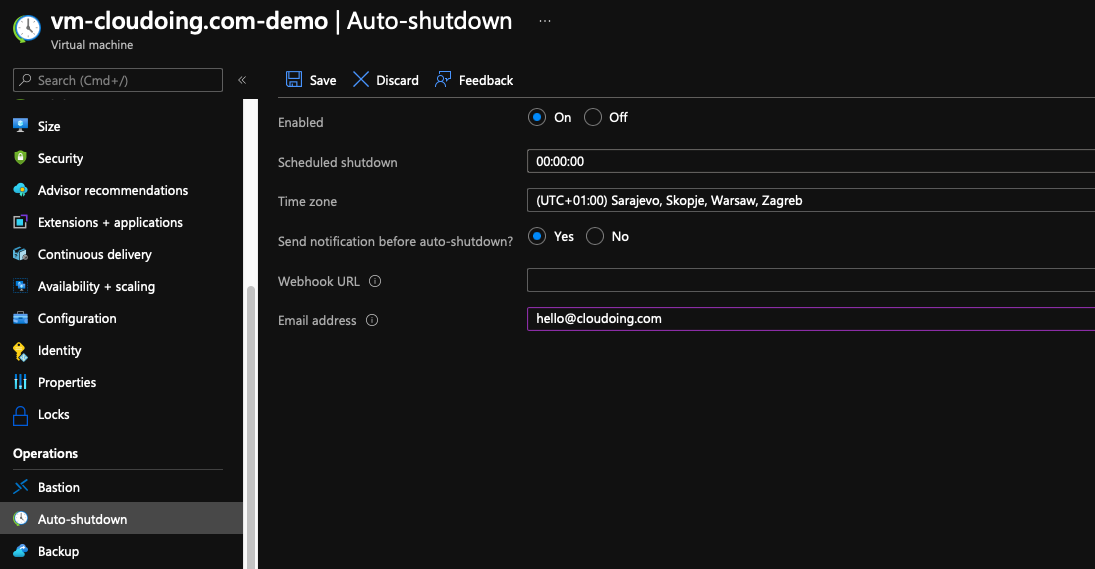
If you are running Virtual Machines, you can automate the shutdown. Let’s say you want to have them be terminated every weekday at 6 pm when the operations on non-production environments are over for the day.
That can be achieved using the Virtual machines service feature – just go to the virtual machine’s blade and choose the “Auto-shutdown” operation.
Cool, but how to start it automatically?
Auto-startup is not available out of the box. You have to use Azure Automation to make it happen.
Creating and setting up Automation Account
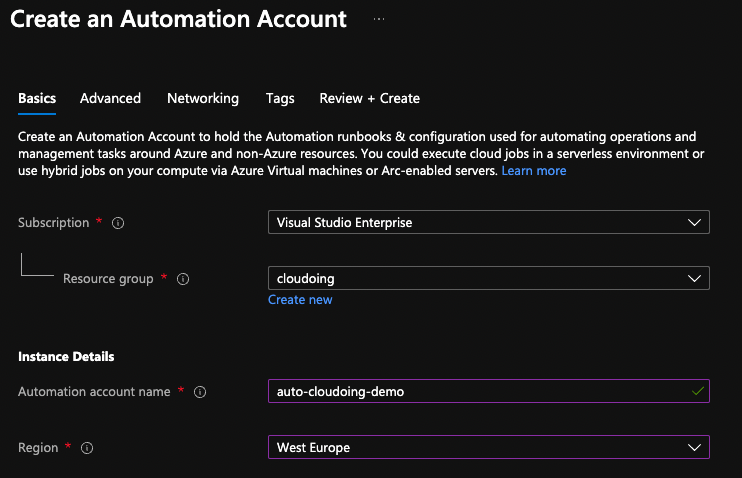
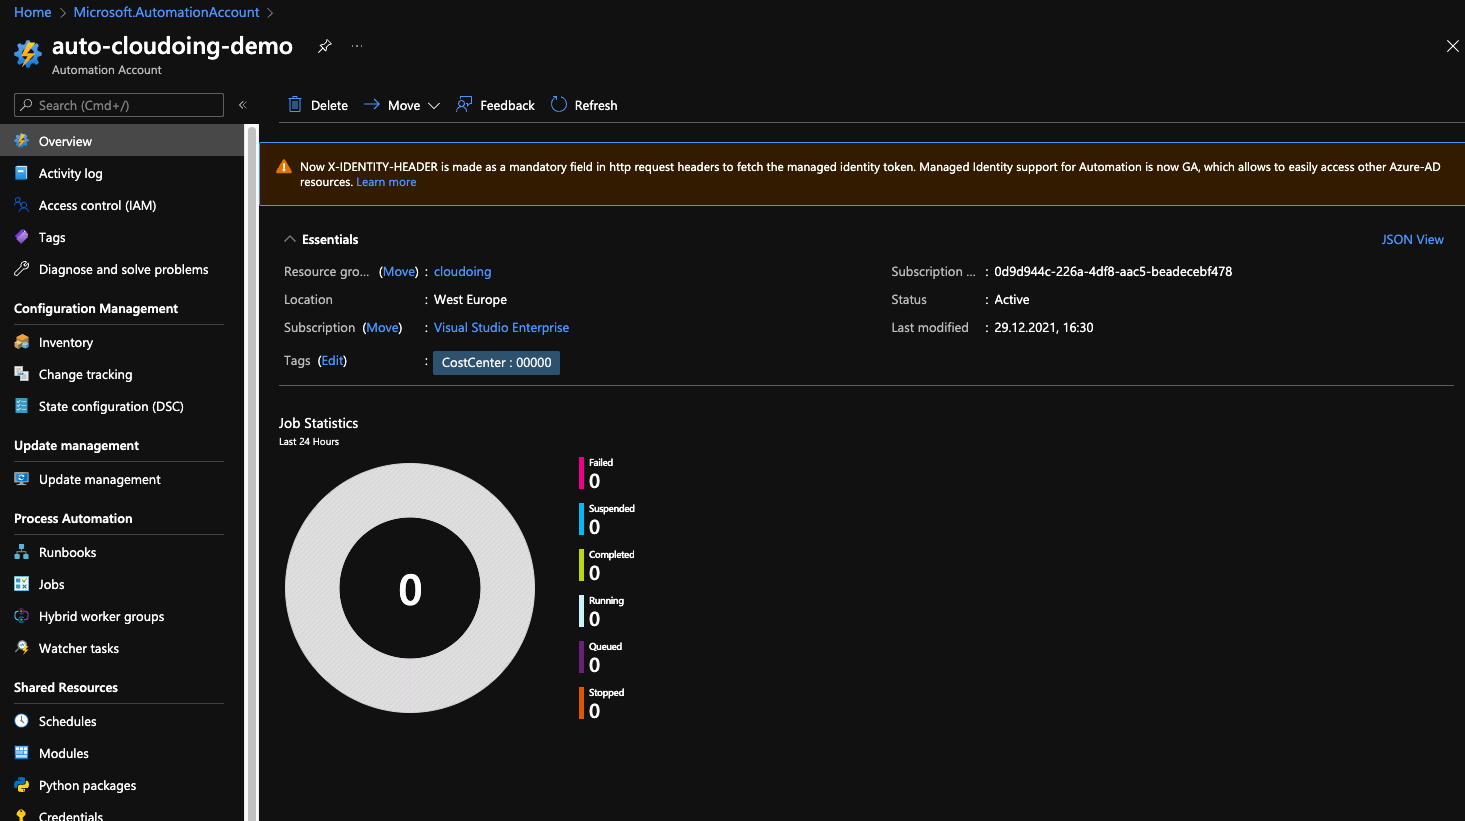
First things first. To automate things, you need an Automation Account in the first place. Search for Automation and create it.
You need to provide a few basic details first. Select your subscription and resource group (or create a new one). Then specify the automation account's name and a chosen region.
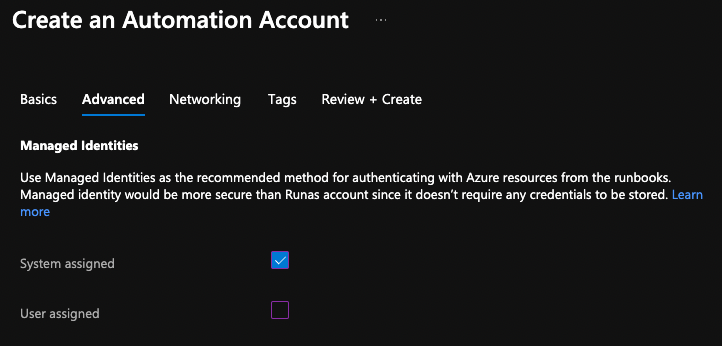
Automation account uses managed identities for authentication. All scripts and commands runbooks act as a managed identity specified at this step. You can leave a default option and let the automation account create System assigned identity, or pick one of the previously created managed identities (user assigned).
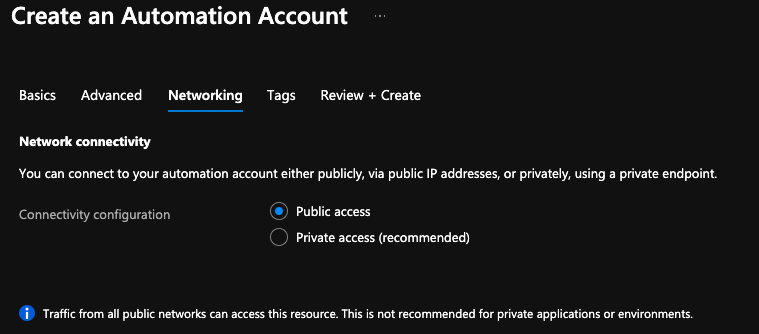
Automation uses a public network for communication by default. If you want to automate resources enclosed in your private network, it is recommended to set it up using private endpoints. For a sake of this demo, let's stick to default settings.
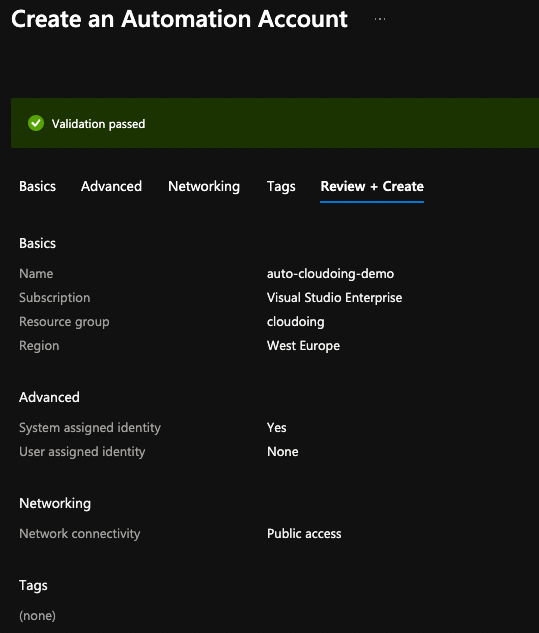
Once validation passes – you are ready to provide an automation account!
Assigning RBAC role for Azure Automation's managed identity
The automation account needs access rights to manage resources. In the past, it was using “Run as accounts”. A modern way of doing so is by using the managed identity.
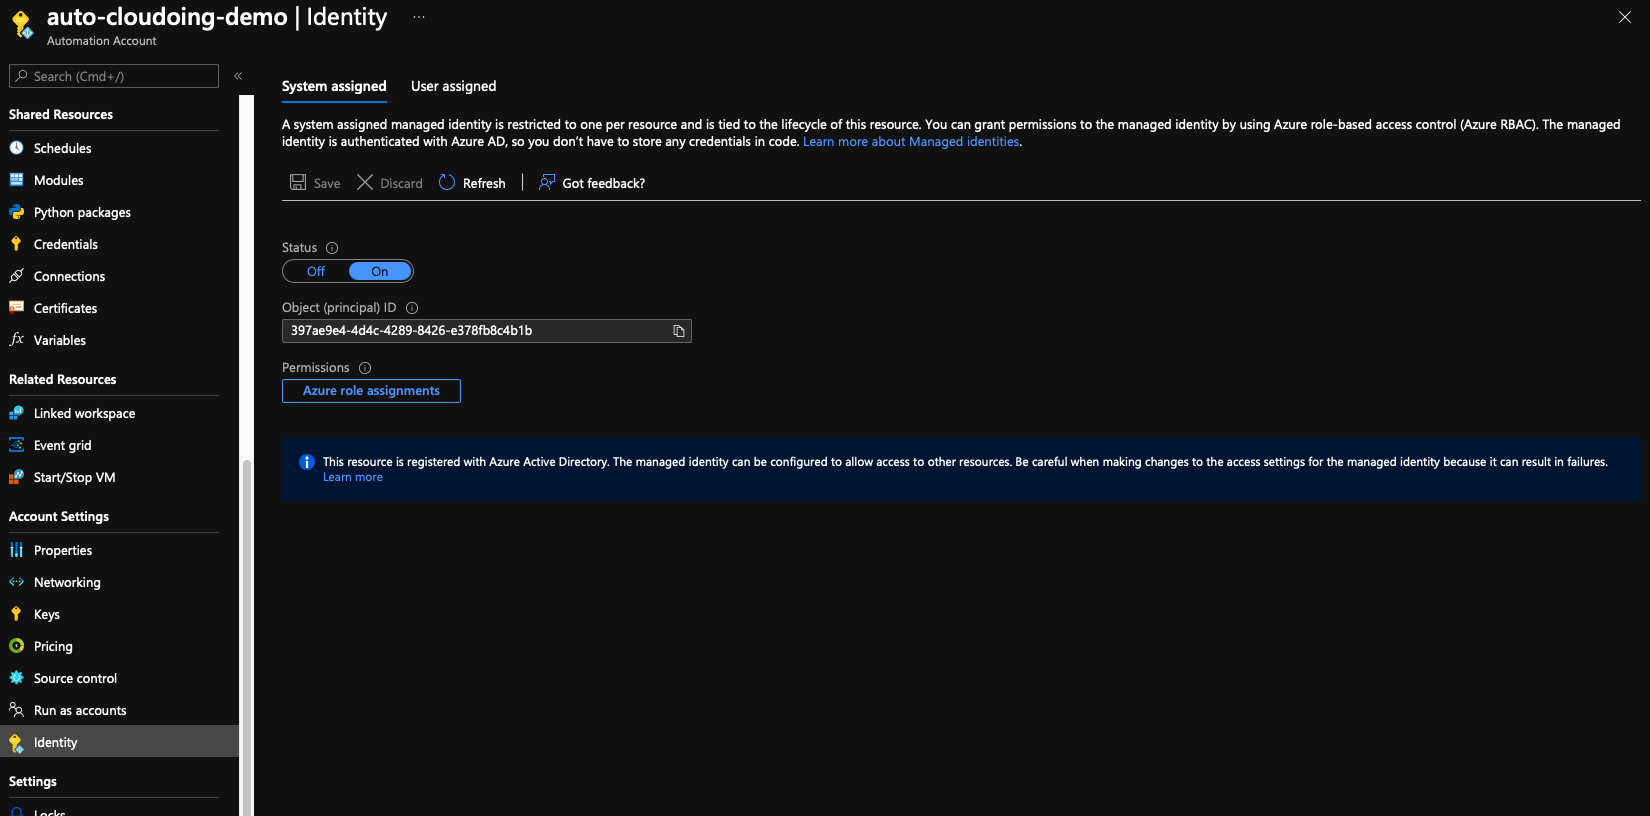
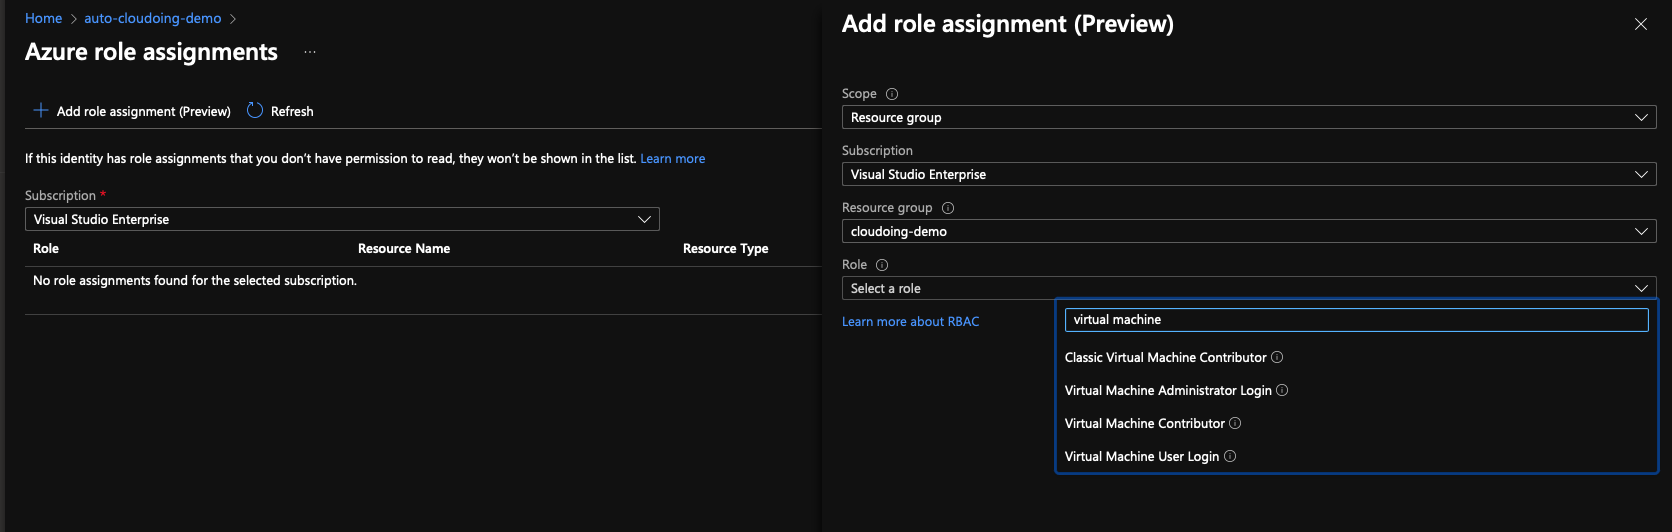
Let's assign proper roles now. Click on Azure role assignments.
The new role assignments blade is currently in preview. For now, Azure roles can be scoped to Subscription, Resource Group, Key Vault, Storage, or SQL.
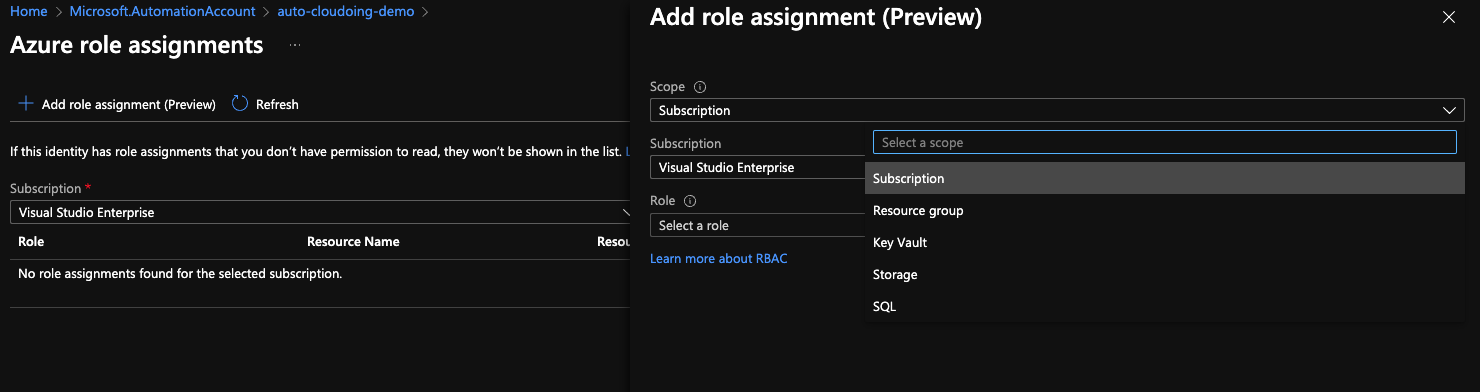
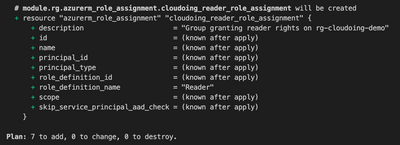
Let's choose the Resource group for now. To simplify the setup, let's grant a Virtual Machine Contributor role on our demo resource group.
Once properly granted, a new role assignment will be displayed.
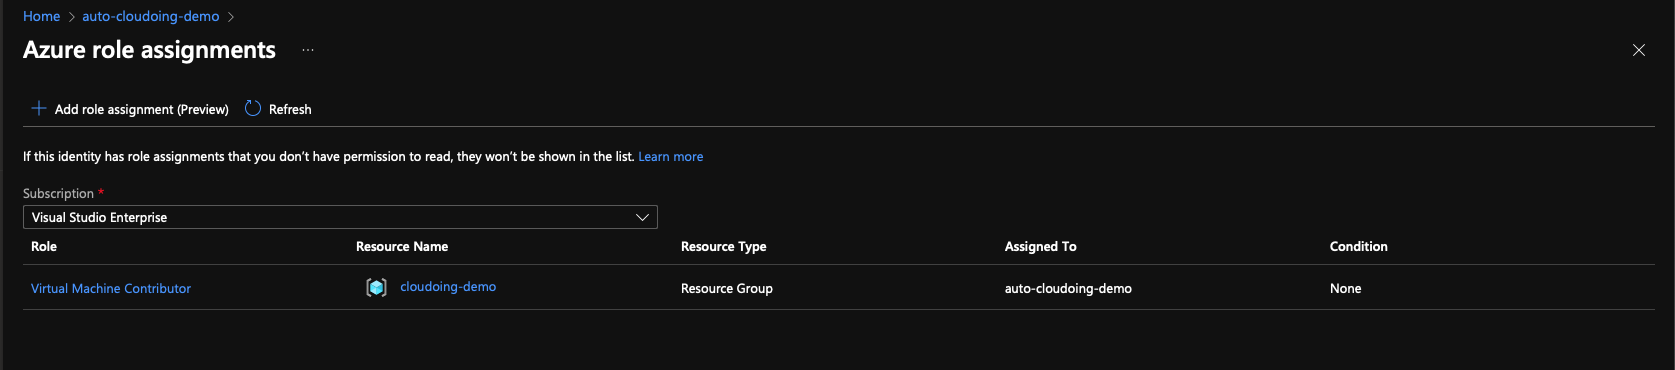
As the result, the Automation account has the role Virtual Machine Contributor on the resource group. The role gets inherited, meaning it can manage all Virtual Machines stored in that resource group.
Automating Virtual Machine startup
Let's get back to our virtual machine. We can use automation to start it on schedule, similar to what can be done out-of the box with auto-shutdown.
Let's create our auto-startup automation.
To automate the process of starting up a VM, we need a runbook. It can be as simple as a PowerShell script. If you prefer Python, you are welcome to use it as well. Well, to be honest, we don't need any advanced script, we just need a one-liner. 🙄
Start-AzVM -Name "vm-cloudoing.com-demo" -ResourceGroupName "cloudoing-demo"
Crating the Runbook
Automation account stores scripts in a form of Runbooks.
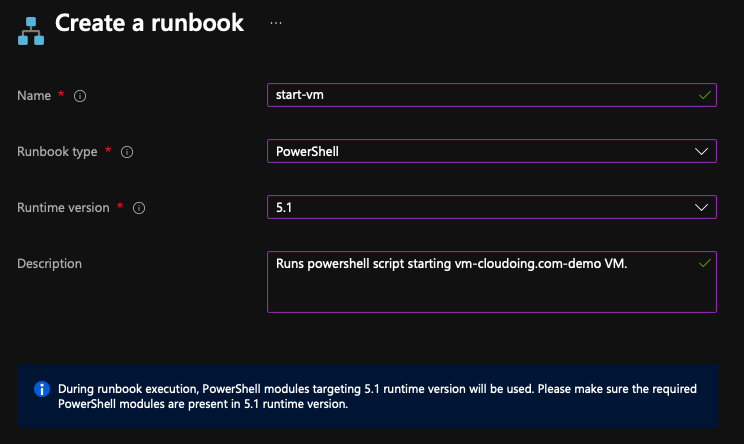
Let's create our first runbook and call it “start-VM”. We are going to use PowerShell for automation, so the runbook type needs to be set to PowerShell. Set a meaningful description to be sure you will understand the reasoning of that runbook after a while. 😉
A newly created Runbook will appear on a runbooks list. By default, the automation account comes with 2 PowerShell runbooks that you can use as examples for creating your own.
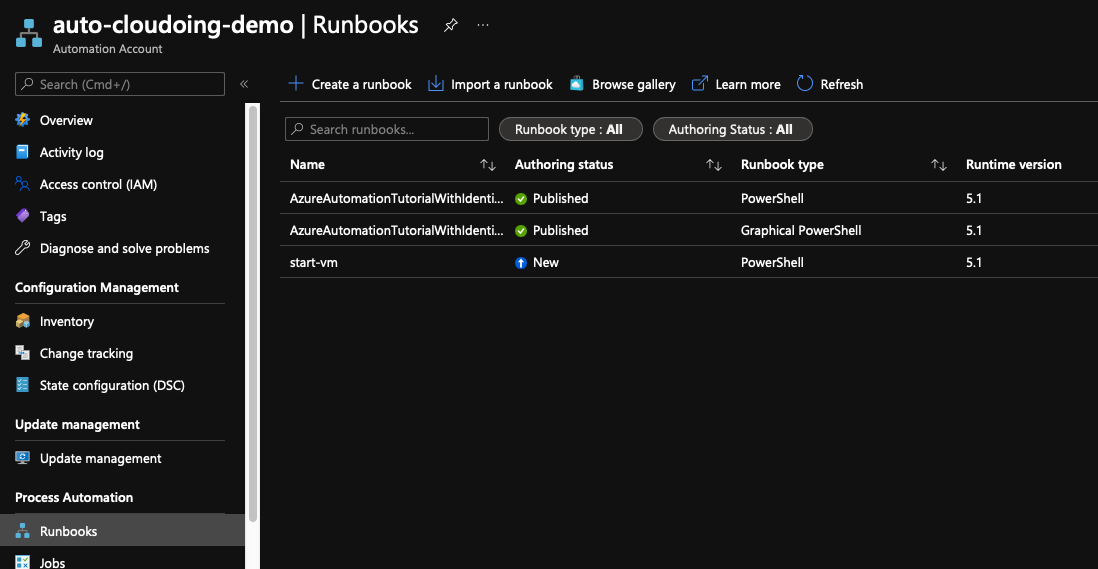
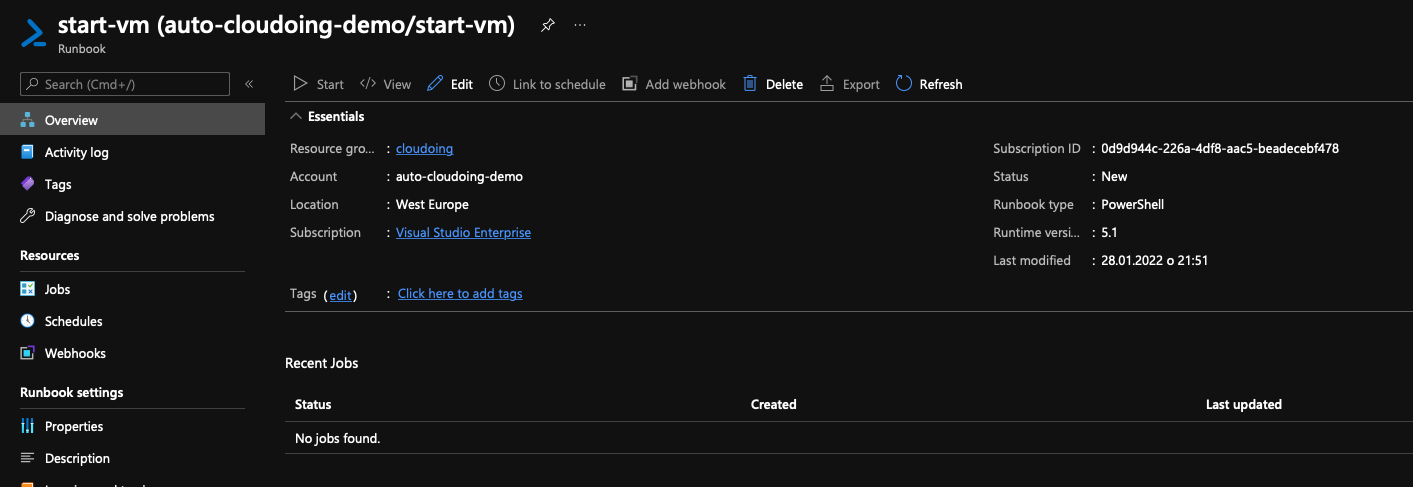
Let's focus on the new runbook. When you click on it, you will find more details about your runbook. From this plane, you can run, schedule, and edit your workbooks. You can also monitor execution and review execution history.
Runbook requires a script to run. Let's talk briefly about what's happening there in a script.
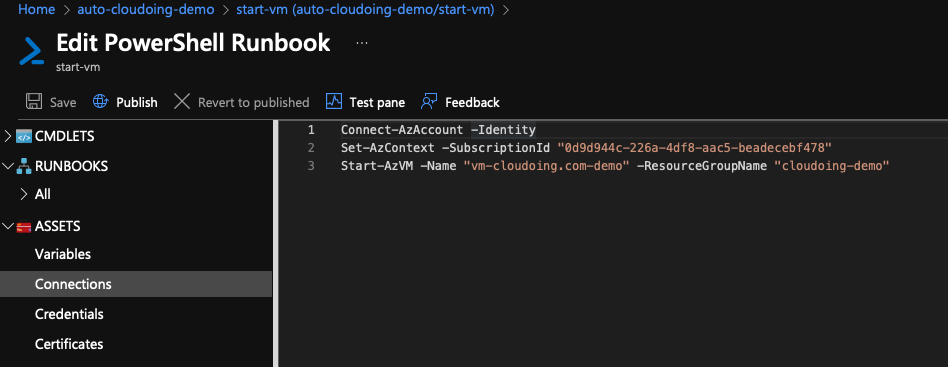
Firstly, we have to log in to Azure using Connect-AzAccount -Identity command. This command makes sure that the script will be executed in the context of the managed identity assigned to the Automation account. Next important thing is to set a context (in this case subscription). Set-AzContext -SubscriptionId “<subscription-id>” scopes execution of commands to the subscription with a given ID. Finally, the last command starts the VM. It requires two parameters – Virtual Machine name and Resource Group name.
Connect-AzAccount -Identity
Set-AzContext -SubscriptionId "<subscription-id>"
Start-AzVM -Name "<vm-name>" -ResourceGroupName "<rg-name>"
Copy the script and paste it to the runbook. Remember to replace <subscription-id>, <vm-name> and <rg-name> with the values of your environment.
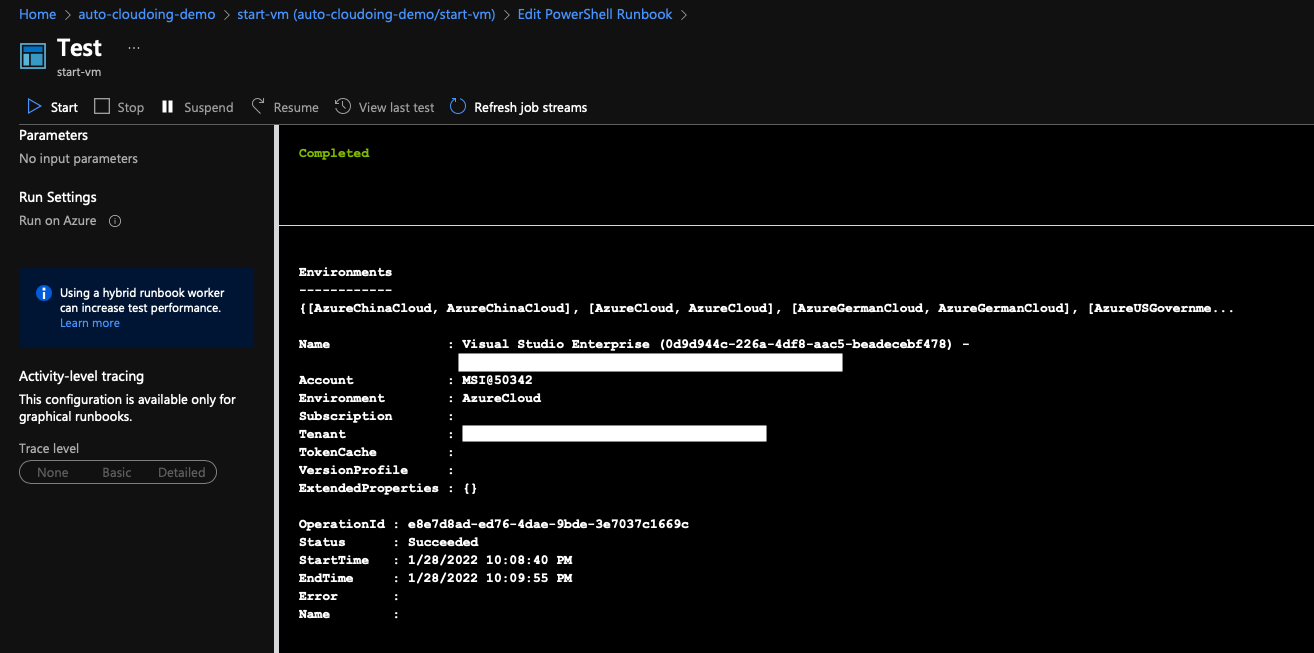
Testing is essential, and that is not different here. Once you developed a script, you can take it for a test drive before enabling automatic execution. Be careful, the script gets executed for real. 😄

If you are happy with the results, you can close the testing plane and save and publish the script.
Once the published runbook's status changes to Published, and it's ready to be executed by the automation account.
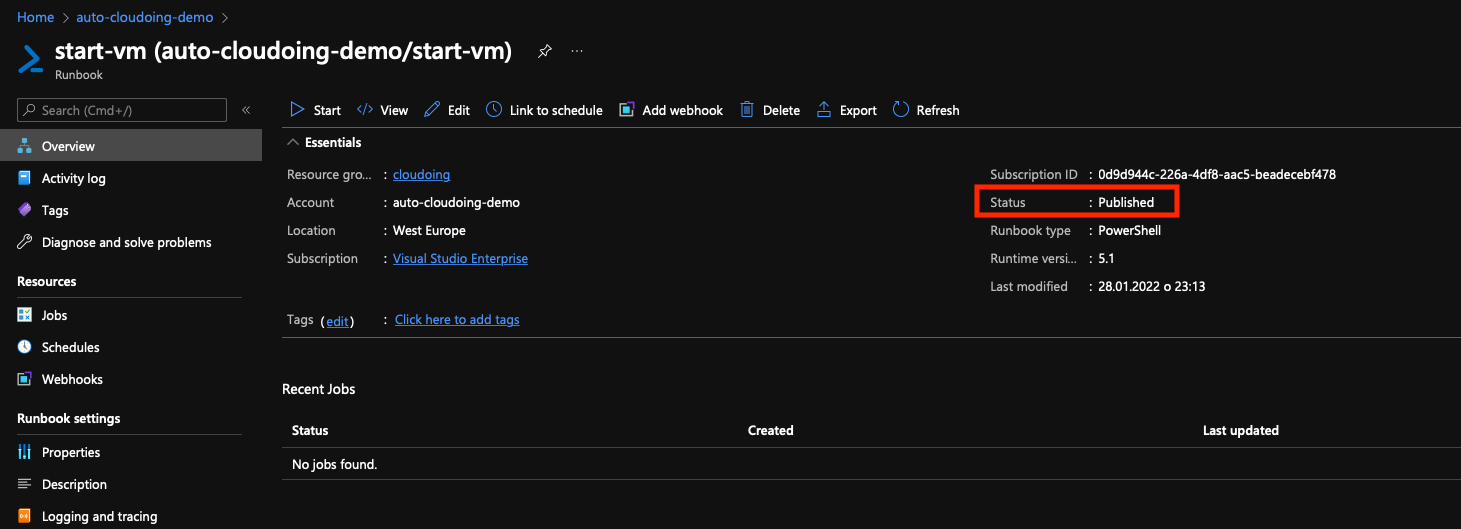
From now on, you can click on the start button there and execute a script.
Simple? Yes, but we would rather not run it manually, right?
Runbook scheduler
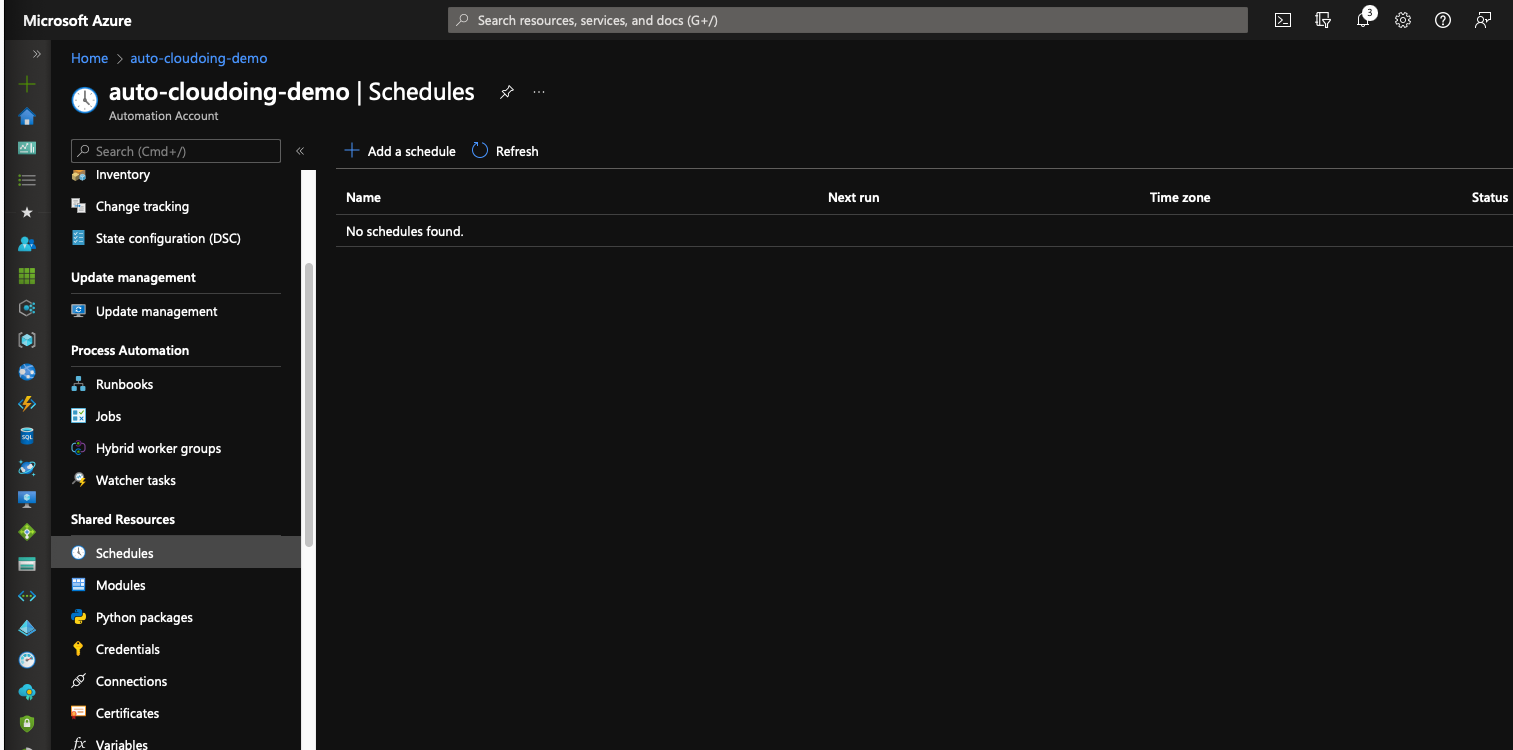
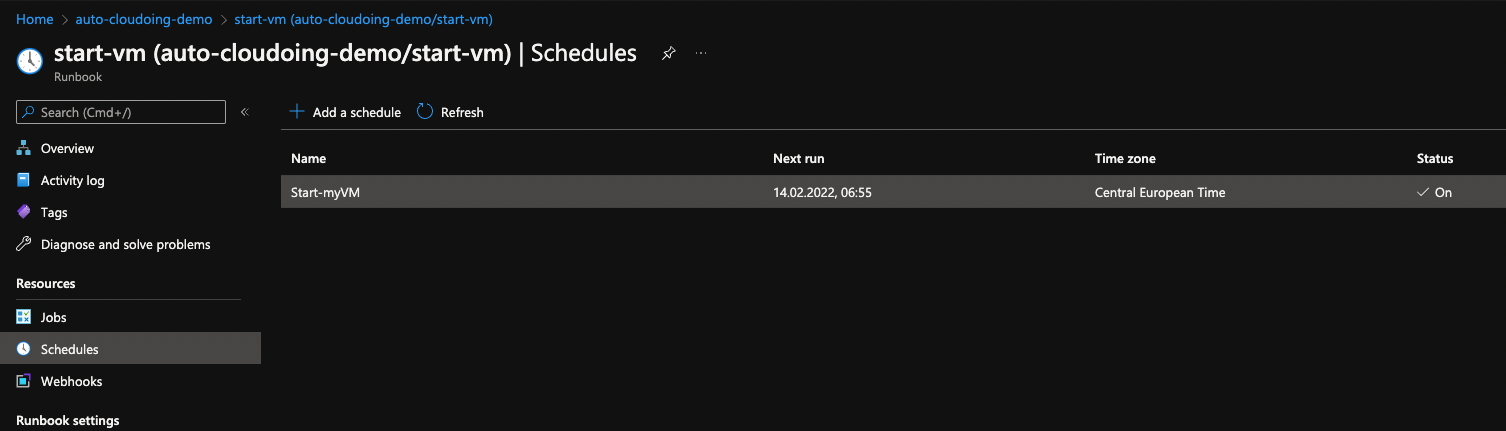
Let's take a look at an Automation scheduler. Go to the Schedules menu and click on “add a schedule”.
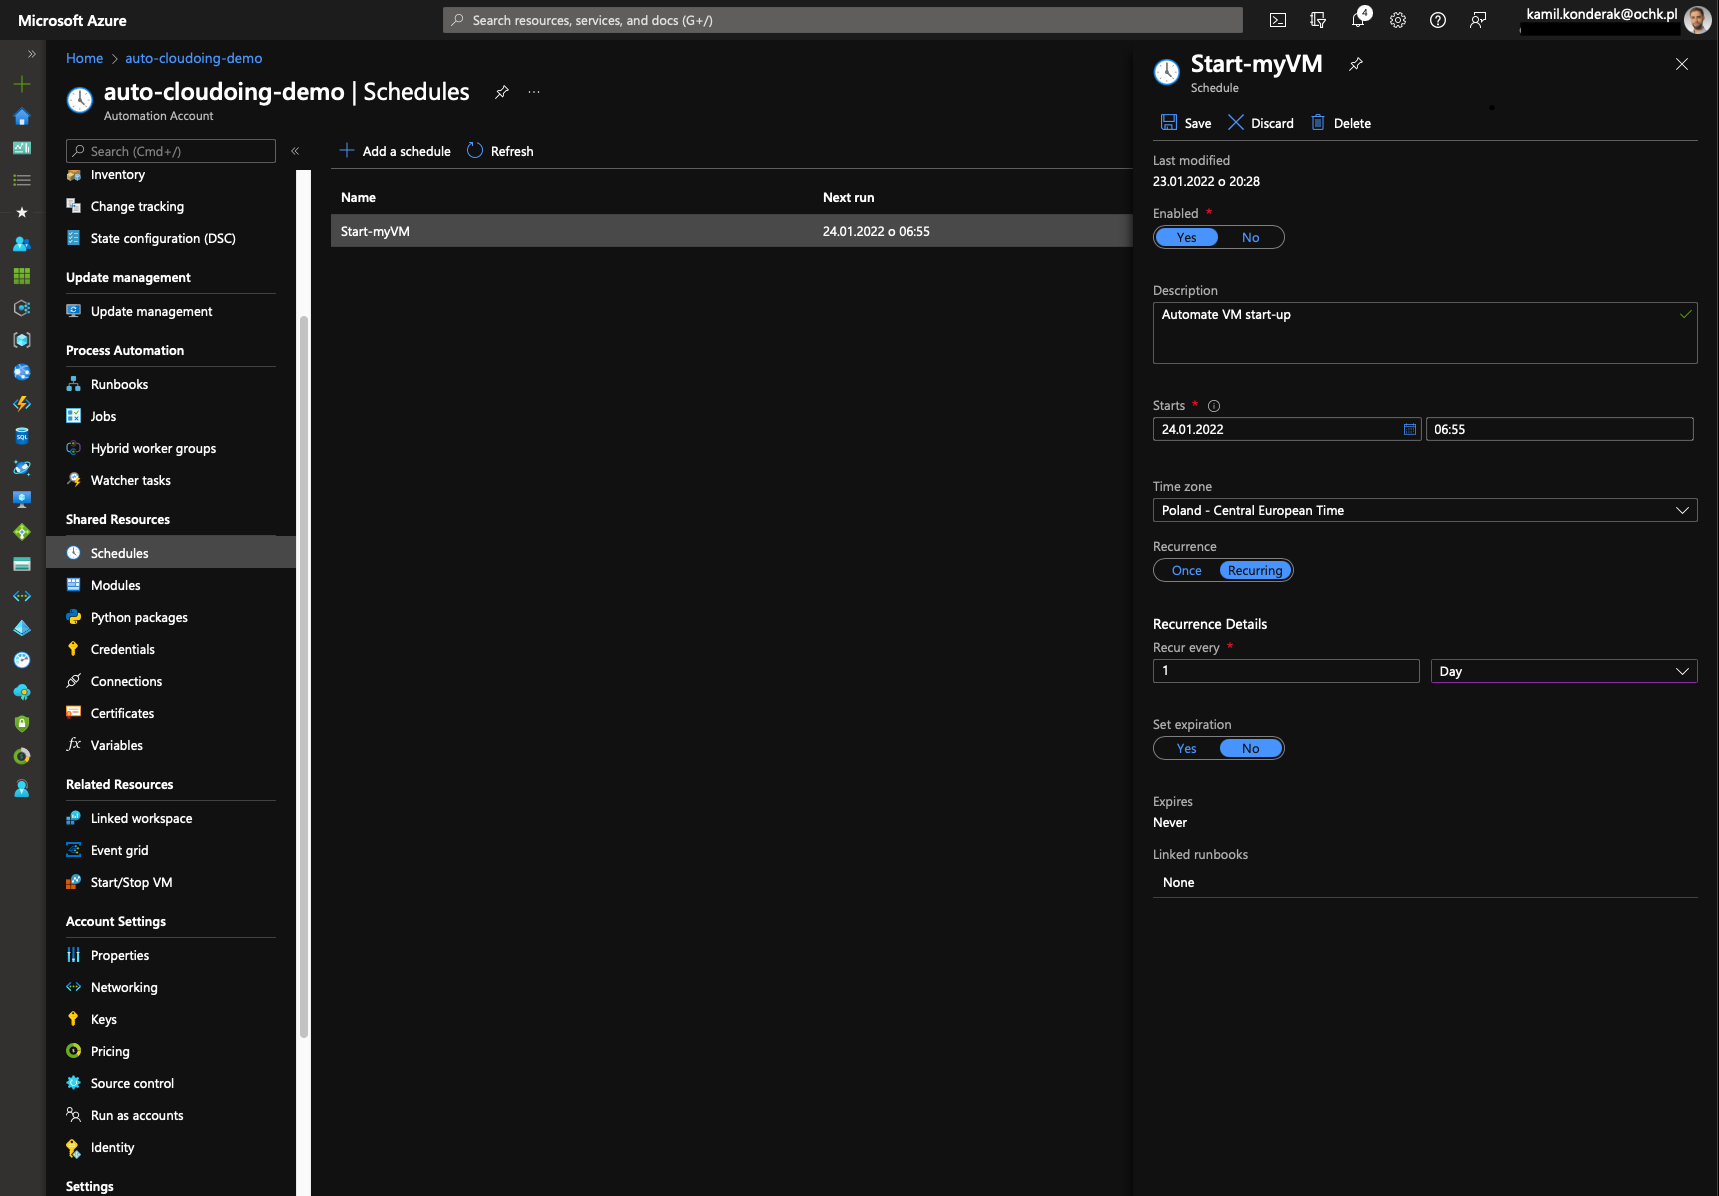
We want to start our VM available every day at 7 AM. Scheduling start-up at 6:55 just to be certain it's up at 7:00. 🤓
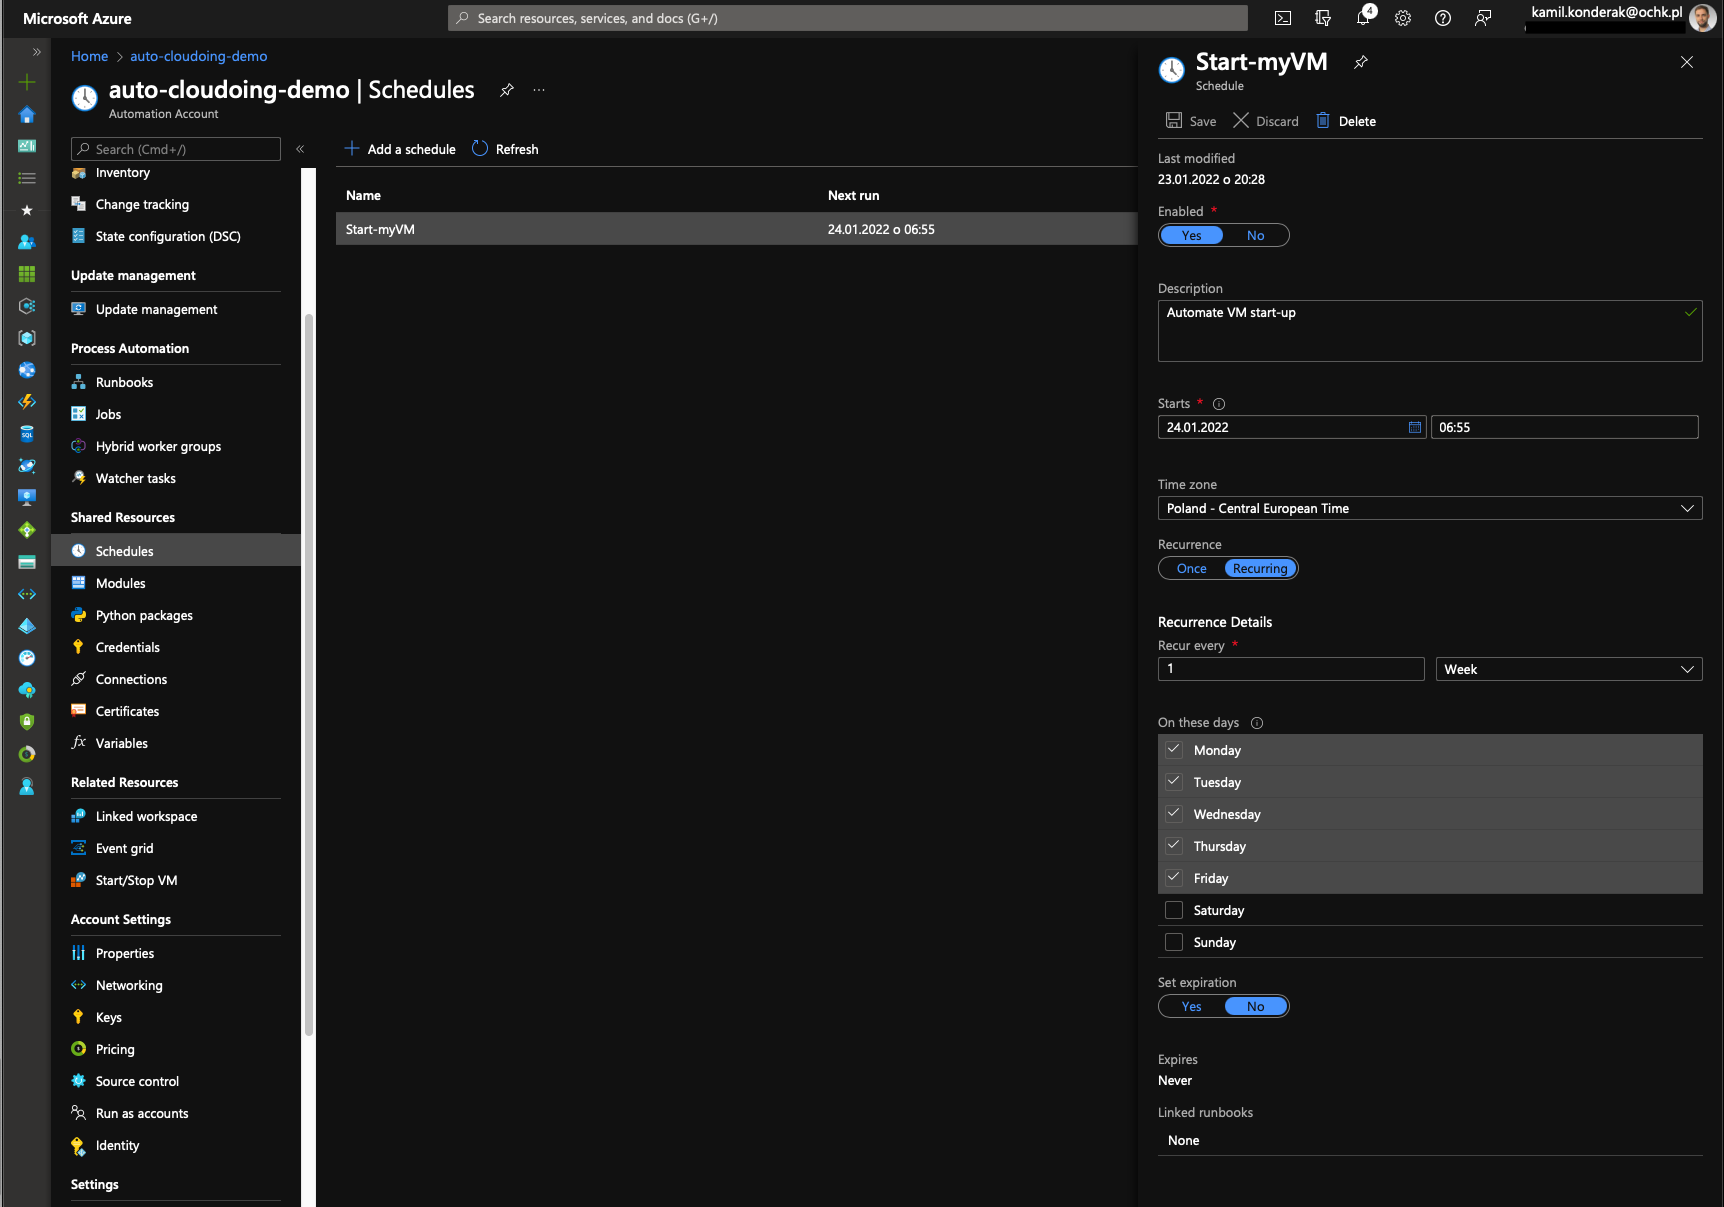
Ok, but what about the weekends? In our case, study, VM could be shut down during the weekends, which could optimize cloud costs even more.
Let's modify our current schedule to start VM only on weekdays.
Save your schedule and then navigate to your previously created runbook start-VM. To run it on a predefined schedule, we have to link the runbook to the schedule. You can link multiple runbooks to a single schedule, and multiple schedules to a single runbook.
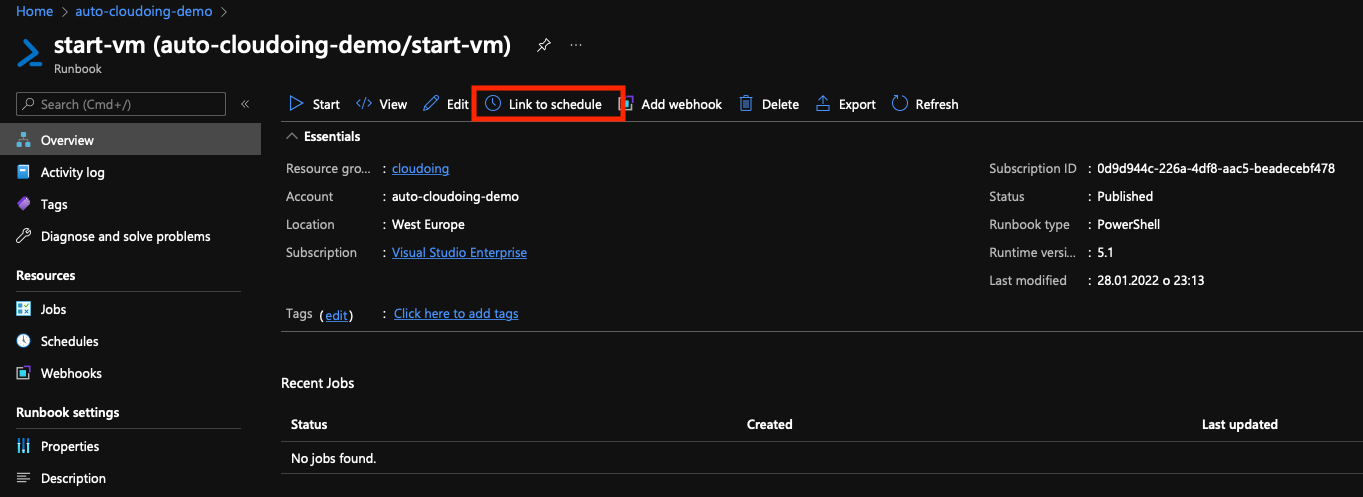
Select the option “Link a schedule to your runbook”. We have not defined any parameters for this simple script, so you can leave default settings.
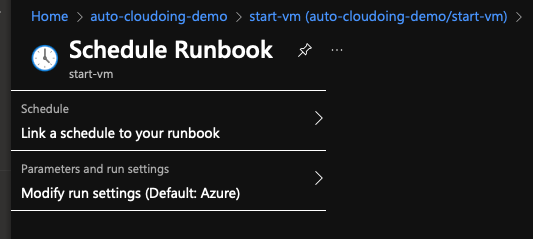
Select a proper schedule from a list.

Once the schedule is linked, you will see it on a “schedule runbook” view.
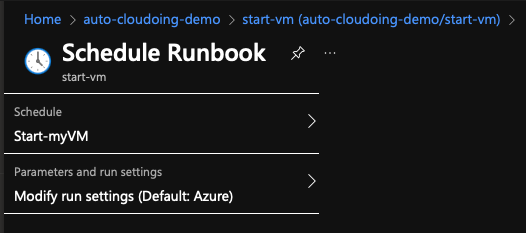
Save it and you are ready to go.
We are good to go. The Virtual Machine will automatically stop every day at 7 pm as defined in the auto-shutdown feature. From now on, the script will get executed every weekday at 6:55 AM.
How much can be saved by implementing such simple automation for a single VM?
Even though we are talking only about a single VM, the saving can be pretty impressive depending on a VM size.
| VM Size | Monthly VM cost (running 24/7) | Monthly VM Cost (running for 10 hours only on weekdays) | Savings |
|---|---|---|---|
| B2ms | $75 | $20 | $55 |
| E8-4ads V5 | $730 | $200 | $530 |
| NC64as | $6120 | $1676 | $4364 |
Cost reduction applies only to the compute resources. You still have to pay for the storage (VM's disks) even when the VM is deallocated. This cost can be significant and in some cases (using Premium SSDs) higher than compute cost.